My 3d Modeling Workflow for SnapBack
Hello everyone! My name is Logan Thomas and I’m a 3d Artist working on SnapBack. My duties for the project include making most of the 3d models that are in our game and handling a few smaller tasks like rigging and simple shader creation.
During pre-production I established a pipeline for me and the other artists on my team to follow while creating 3d models for our game. In this dev log, I want to talk about that 3d modeling workflow and explain why I chose to work this way.
Choosing tools for the job:
I knew that I wanted to push my limits with this project and try to make our game stand out. I wanted to use a high to low workflow for everything not on a trim sheet or tiling texture, so a good baking tool was necessary. I also wanted work quickly and flexibly – so nondestructive modeling was preferable and an alternative way to create high-poly models for complex topology was also important. Ultimately, I decided to use Blender and zBrush for mesh creation and use Marmoset Toolbag to bake. This was a reliable set of tools that I knew could get the job done quickly – hardware permitting.
Modeling with Blender and zBrush:
The largest part of the process happens in Blender.
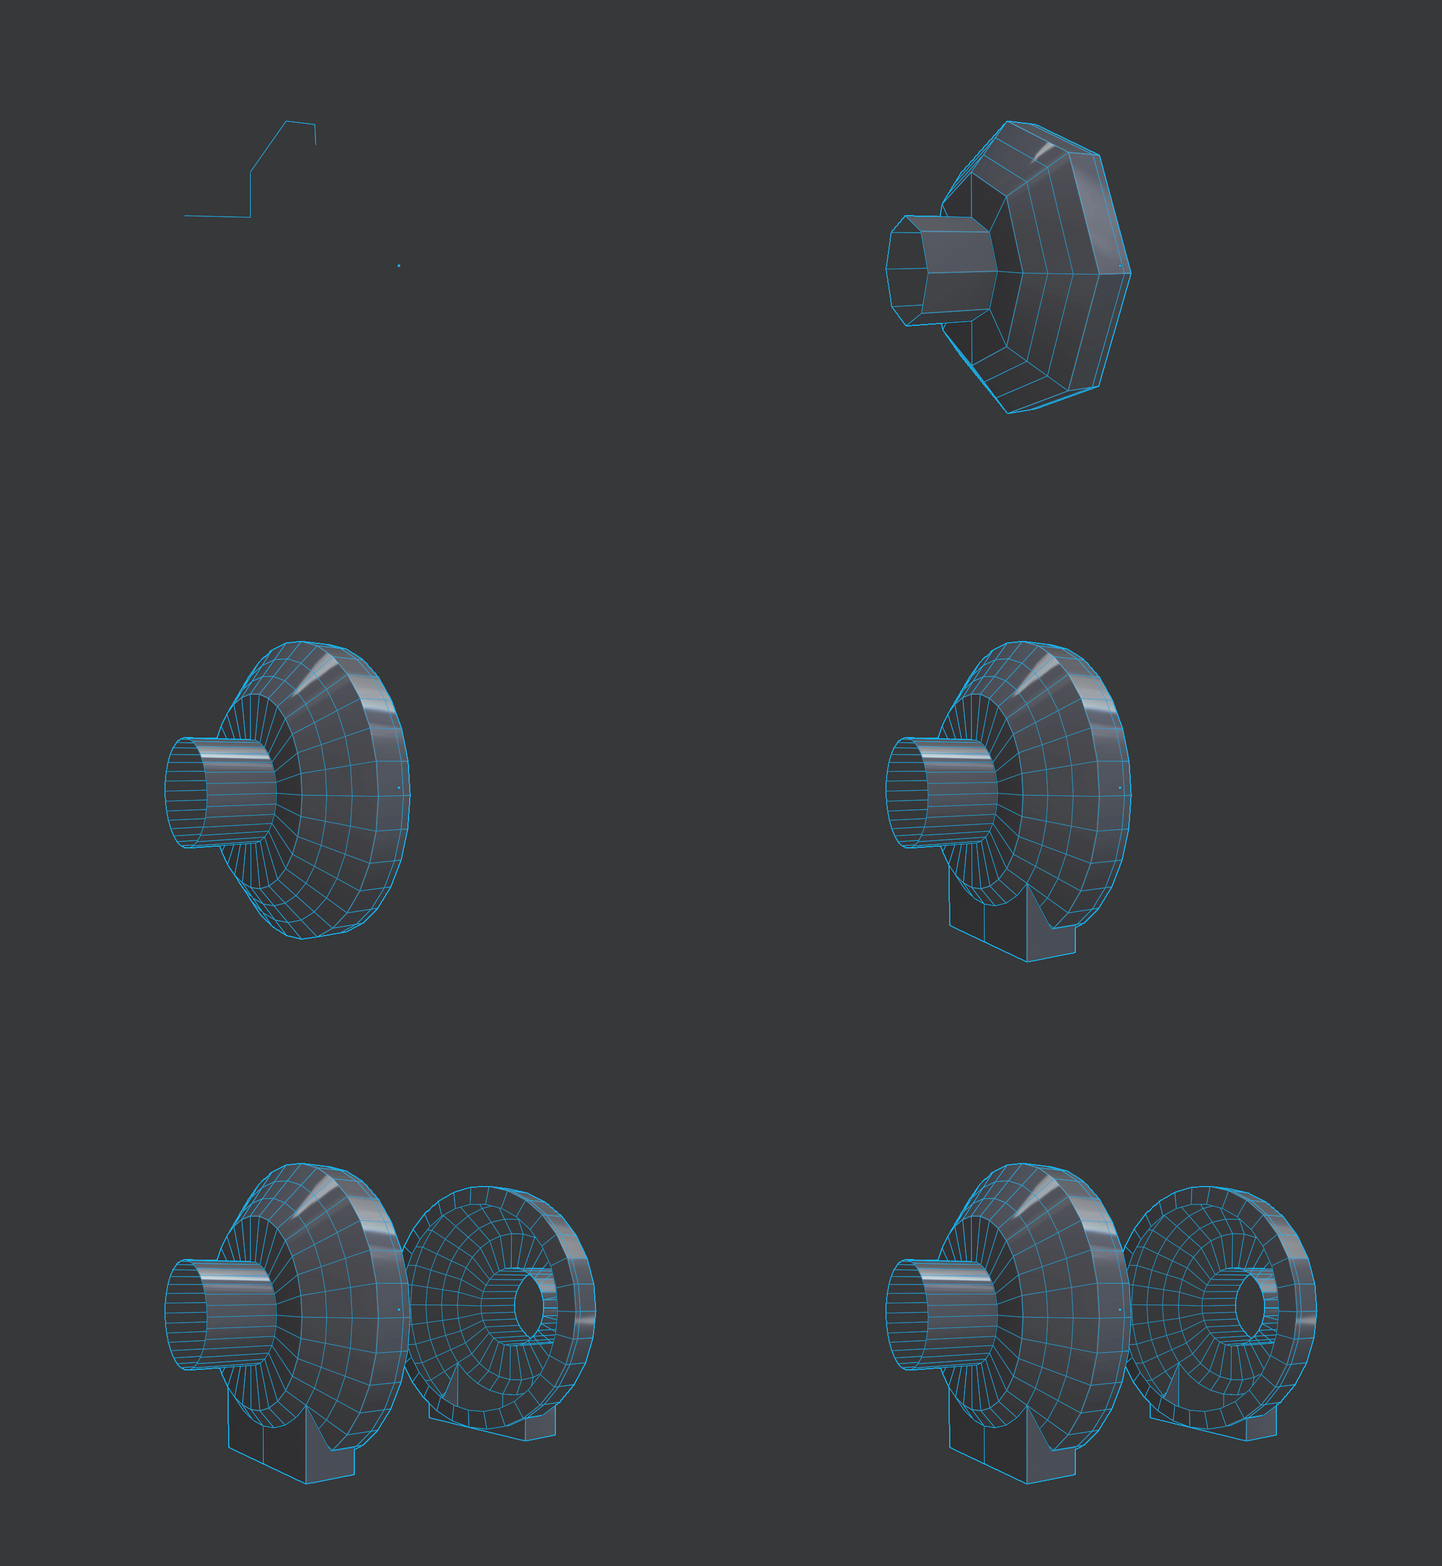
First, I create a base mesh as non-destructively as possible. Modifiers like screw and boolean do a lot of work here - and it allows me to explore design choices quickly without committing to anything. My goal is establishing the form of the object and at this stage I don’t really worry about topology or polycount. After the base mesh is finished – I branch off into low and high-poly versions.
Here is an example of how a few vertices and a cube can quickly turn into something more interesting with just a few modifiers.
To create the high-poly models, I split the work between Blender and zBrush. For simple shapes I use standard subdivision modeling to create the smoothed mesh - but for more complex shapes, zBrush is a huge time saver. Instead of solving tricky intersections for SubD, zBrush lets you polish sharp edges until they're smooth. Polycounts are required to be very high, so there can be hardware limitations using this method.
First I prepare the model in Blender. I make sure that my surfaces look smooth when they are flat shaded. This is important because the model will be Dynameshed. If curved surfaces aren’t smooth, they will turn into a blocky unusable mess. I use the subdivision modifier with creased edges to quickly smooth the areas I need. An important note is that I'm not applying any booleans until I get to zBrush, so I can avoid any import issues and make the smoothing process simpler in Blender.
Below is how smooth I try to get my models before bringing them over. I use the cavity shader in blender to help me see edges that might cause problems.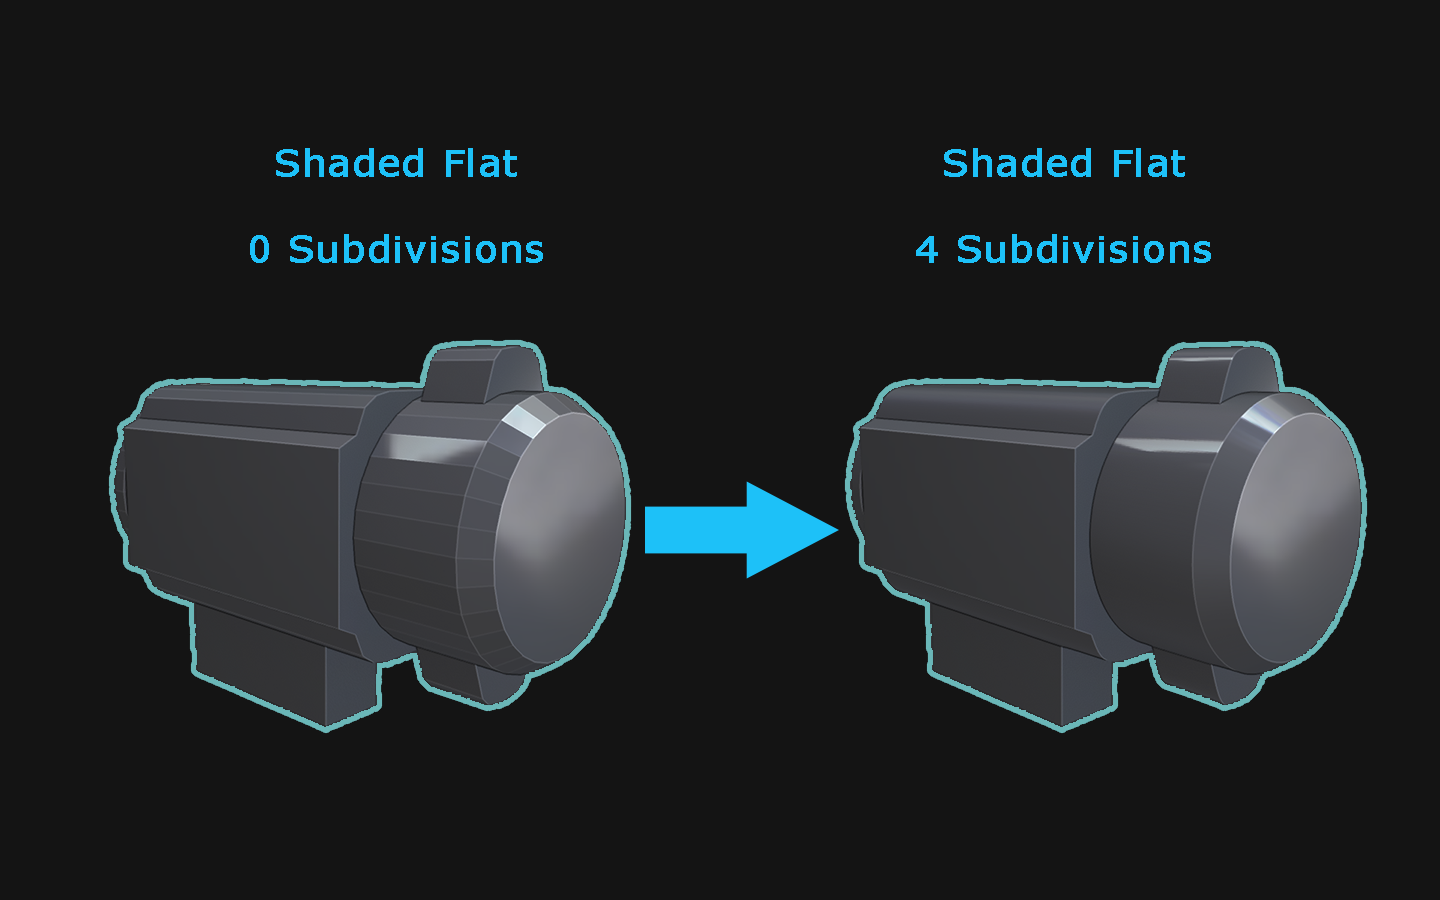
Once that is achieved – I take the resulting mesh and anything I'm using as a boolean object over to zBrush. A nice trick is exporting all of your meshes as one FBX because this will bring them in as separate subtools with a single import.
From here, I place my boolean stacks into folders to keep things organized, and apply the actions for each folder. The resulting models are Dynameshed to give them uniform topology and then I use "Polish By Crisp Edges" to smooth out the sharp edges. This process is very fast, and the results are just what I need, smoothed out hard edges on tricky topology.
After Dynameshing the resulting model is pretty dense, so I use Decimation Master to make it more manageable before I bring it back to Blender for some finishing touches. It needs to have averaged normals applied and I have to re-establish the naming convention for baking.
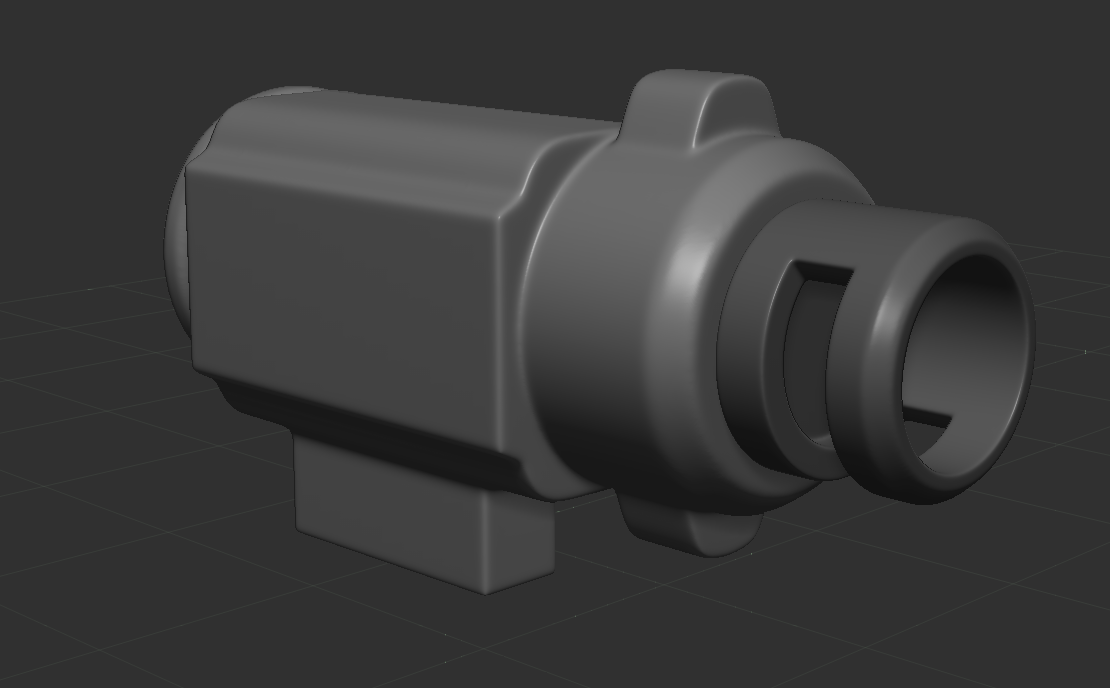
After this, I complete the low poly and create UVs for it. I wont really go into that since its all pretty standard stuff. I use a number of Blender add-ons to speed up the process - including MeshMachin3 and Hard Ops for general modeling and ZenUV with UVPackmaster 3 for UV work. I tried to avoid manual re-topology as much as possible during this project due to the strict time constraints, but when It was necessary I used Retopoflow.
Baking in Marmoset Toolbag:
After the high poly and low poly models are done – I bring everything over to Marmoset Toolbag to bake. I use Marmoset because the it has a number of features that speed up my work and let me correct normal bakes without tweaking topology. I can automatically assign my baking groups, visibly see the cages generated for the models, and correct any skewing that occurs. The best quality of life feature though is the automatic reloading when a model changes – which can happen if errors crop up after a test bake.
In Marmoset I bake all the maps I will use in Substance Painter, except Position and World Space. Those are easy to get in painter and it avoids any compatibility issues. The result is super satisfying, just look at the difference between the low-poly mesh by itself, and the same mesh with a baked normal map applied.
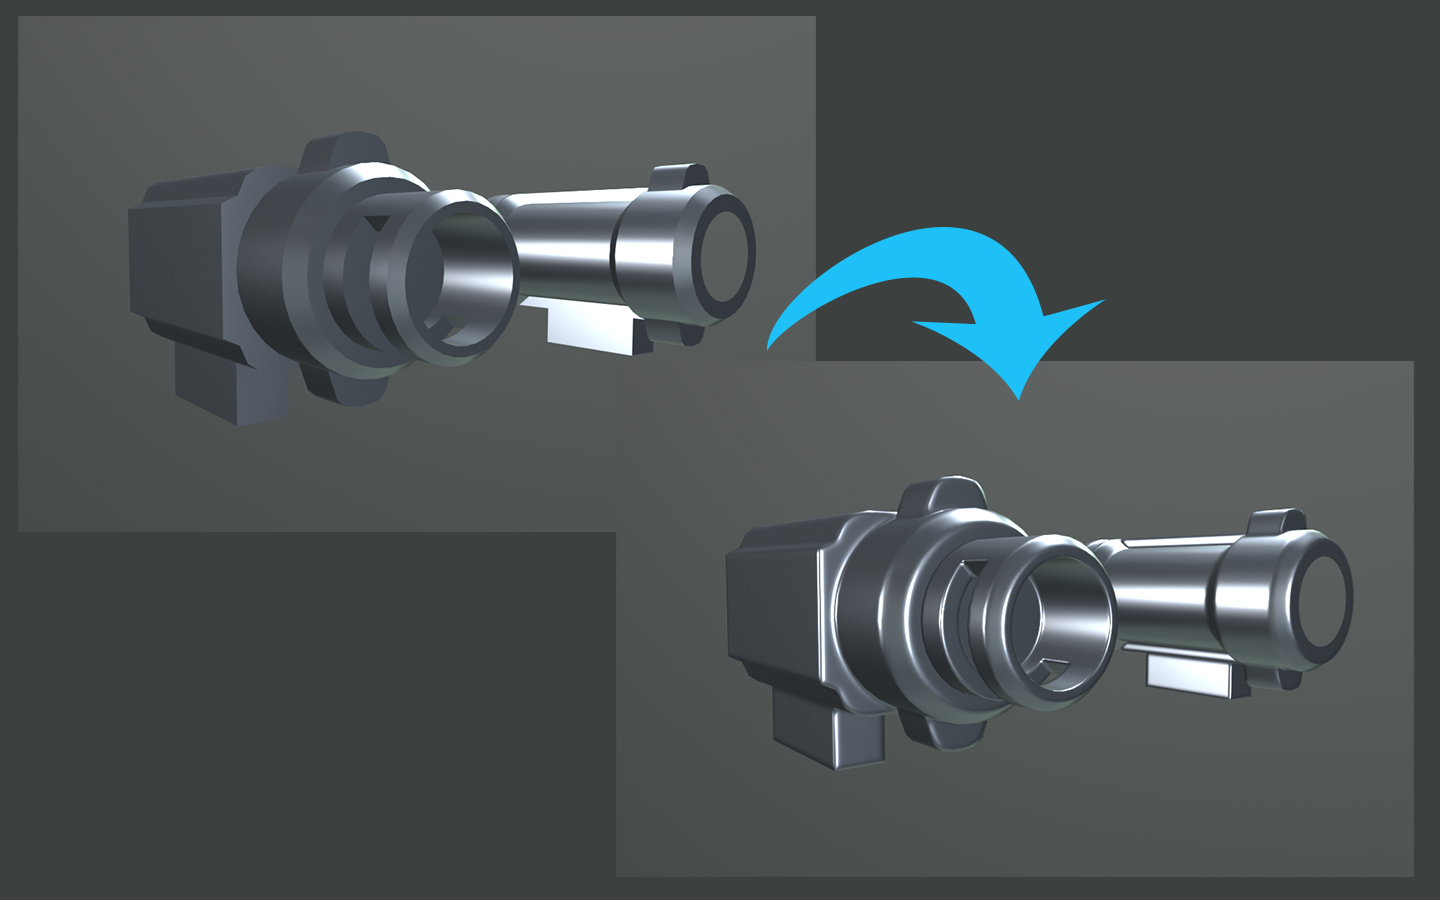
After the bake is complete - the model is ready to go into painter! For this project we've broken modeling and texturing into separate jobs to help keep a consistent style across assets. At this point I would get the model into painter and test it with a few smart materials before sending the file over to Gracie.
The models I've been showing are all parts of a turret that will hopefully make your life a little harder in SnapBack. You'll probably be running from it more than staring at it in game, so here's a closer look at the little guy!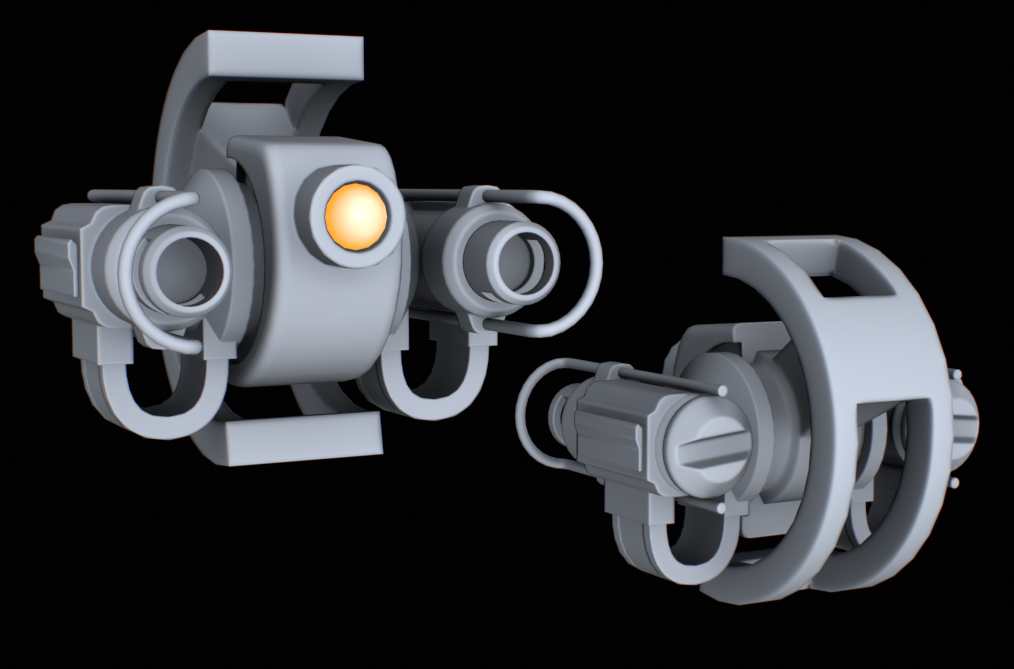
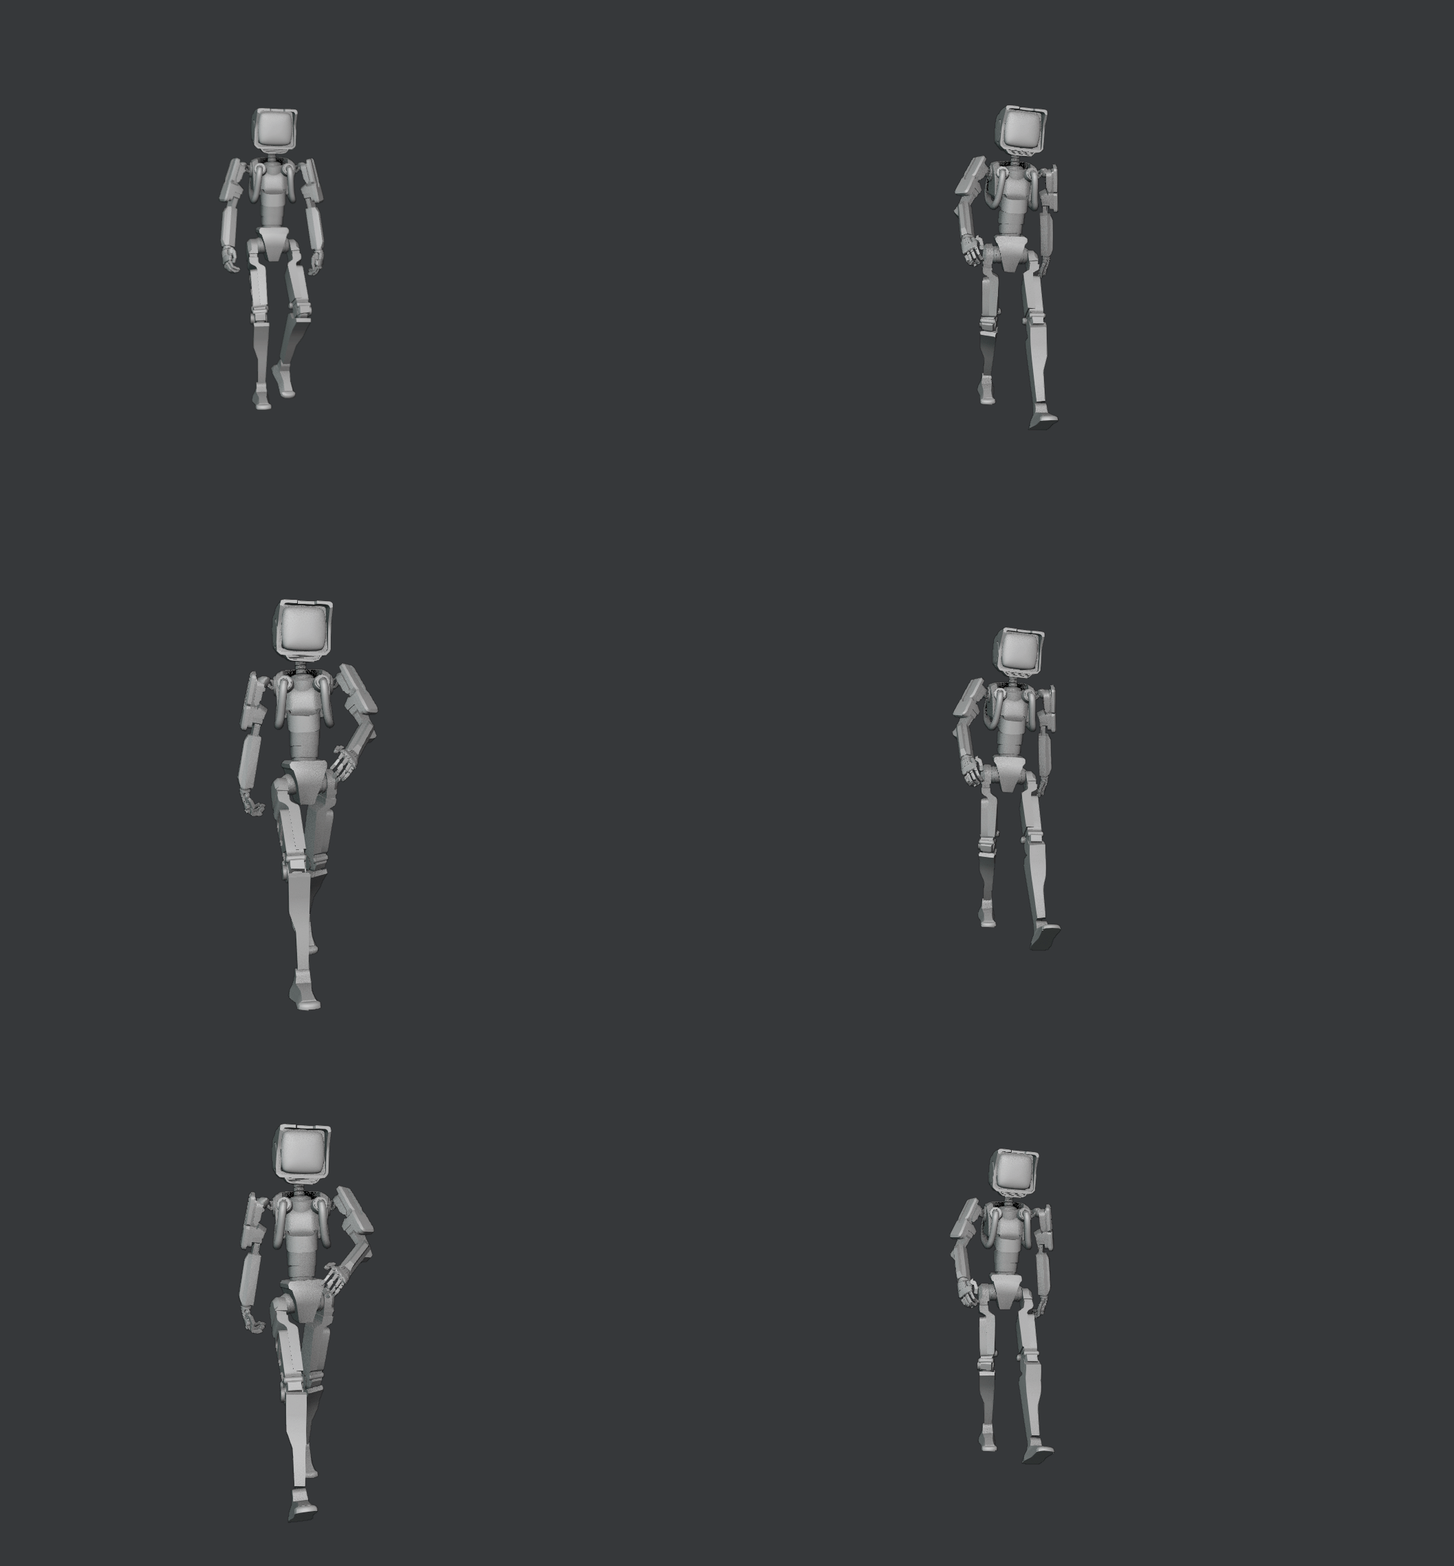
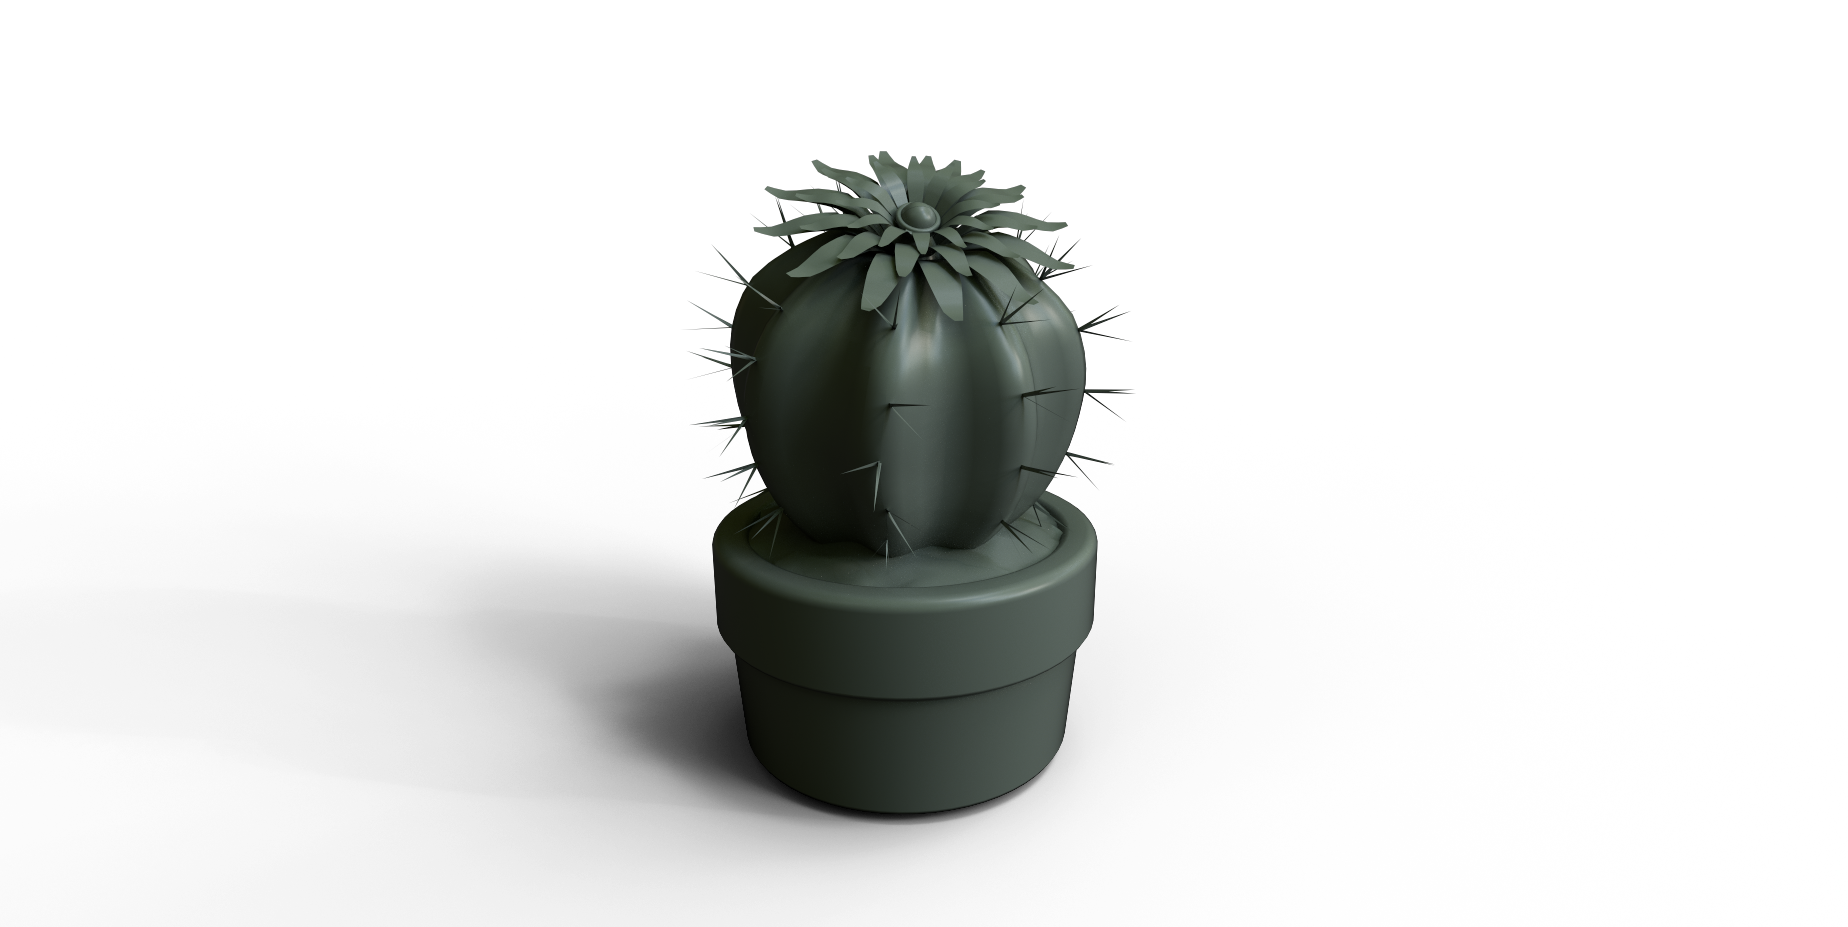
If you made it this far, here is a sneak peak of some more models I've created for SnapBack.
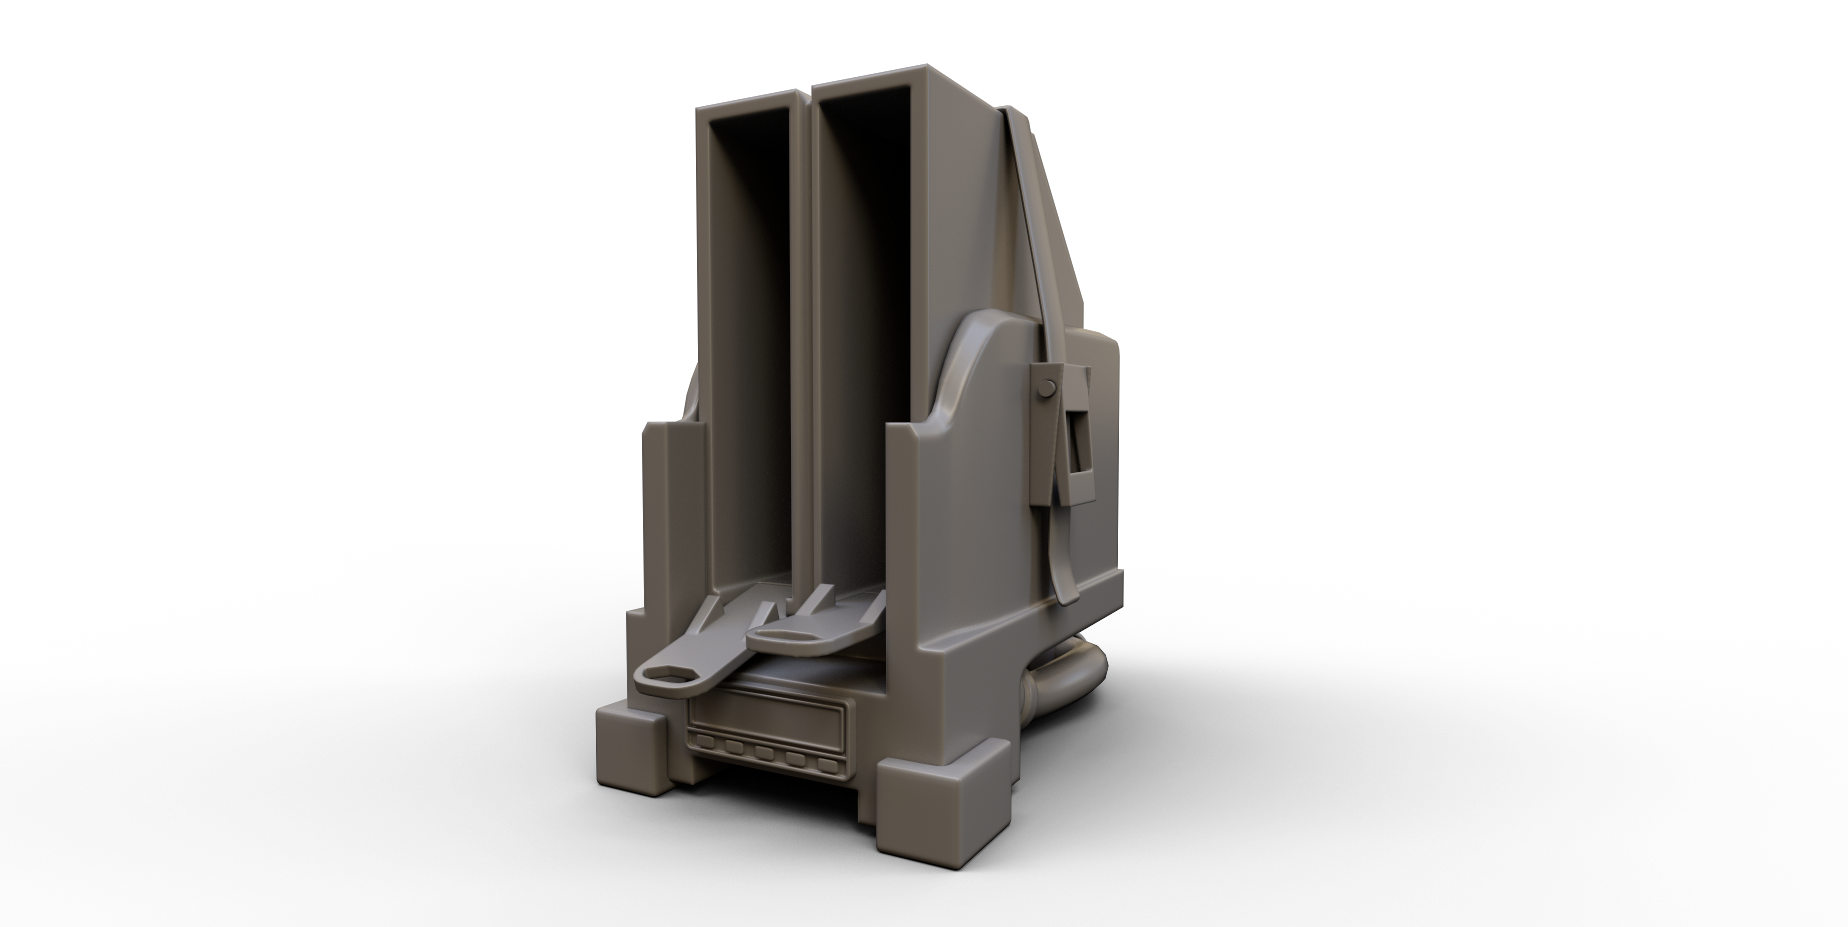
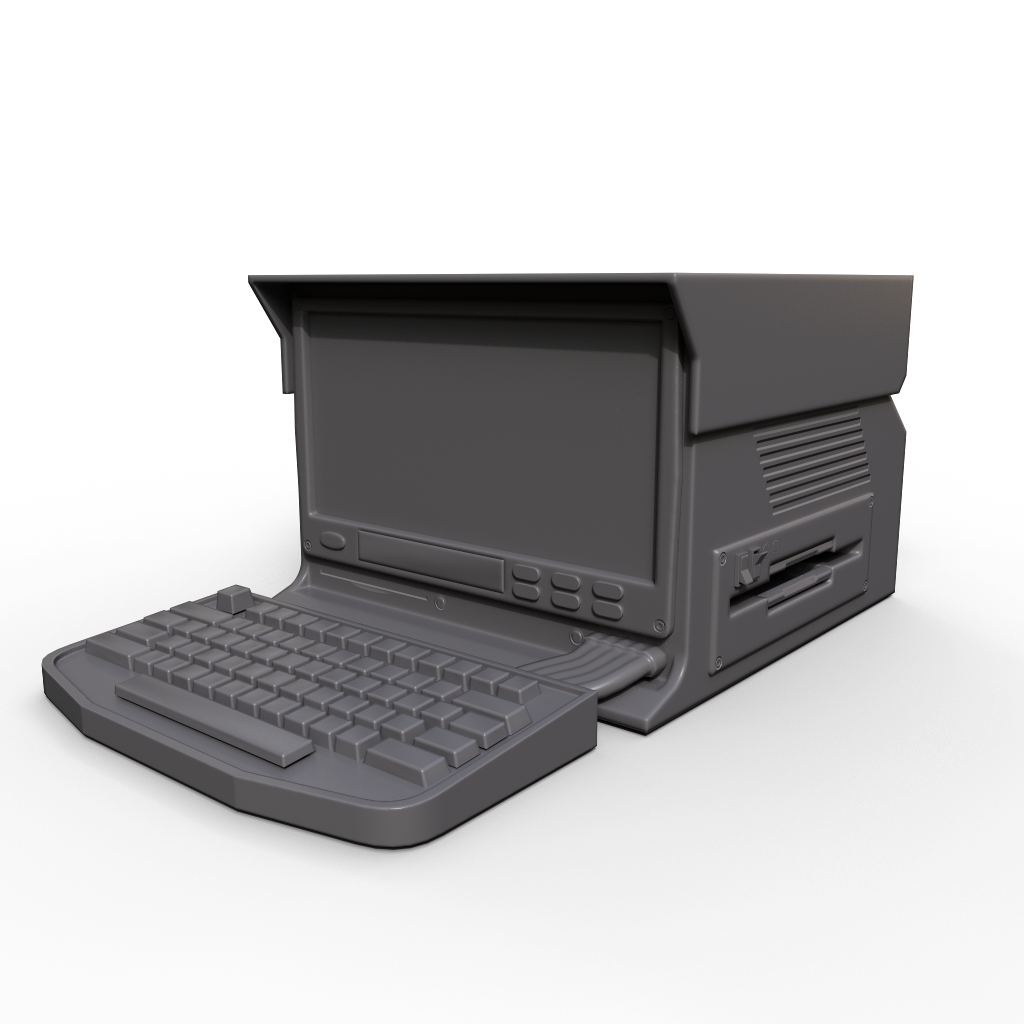
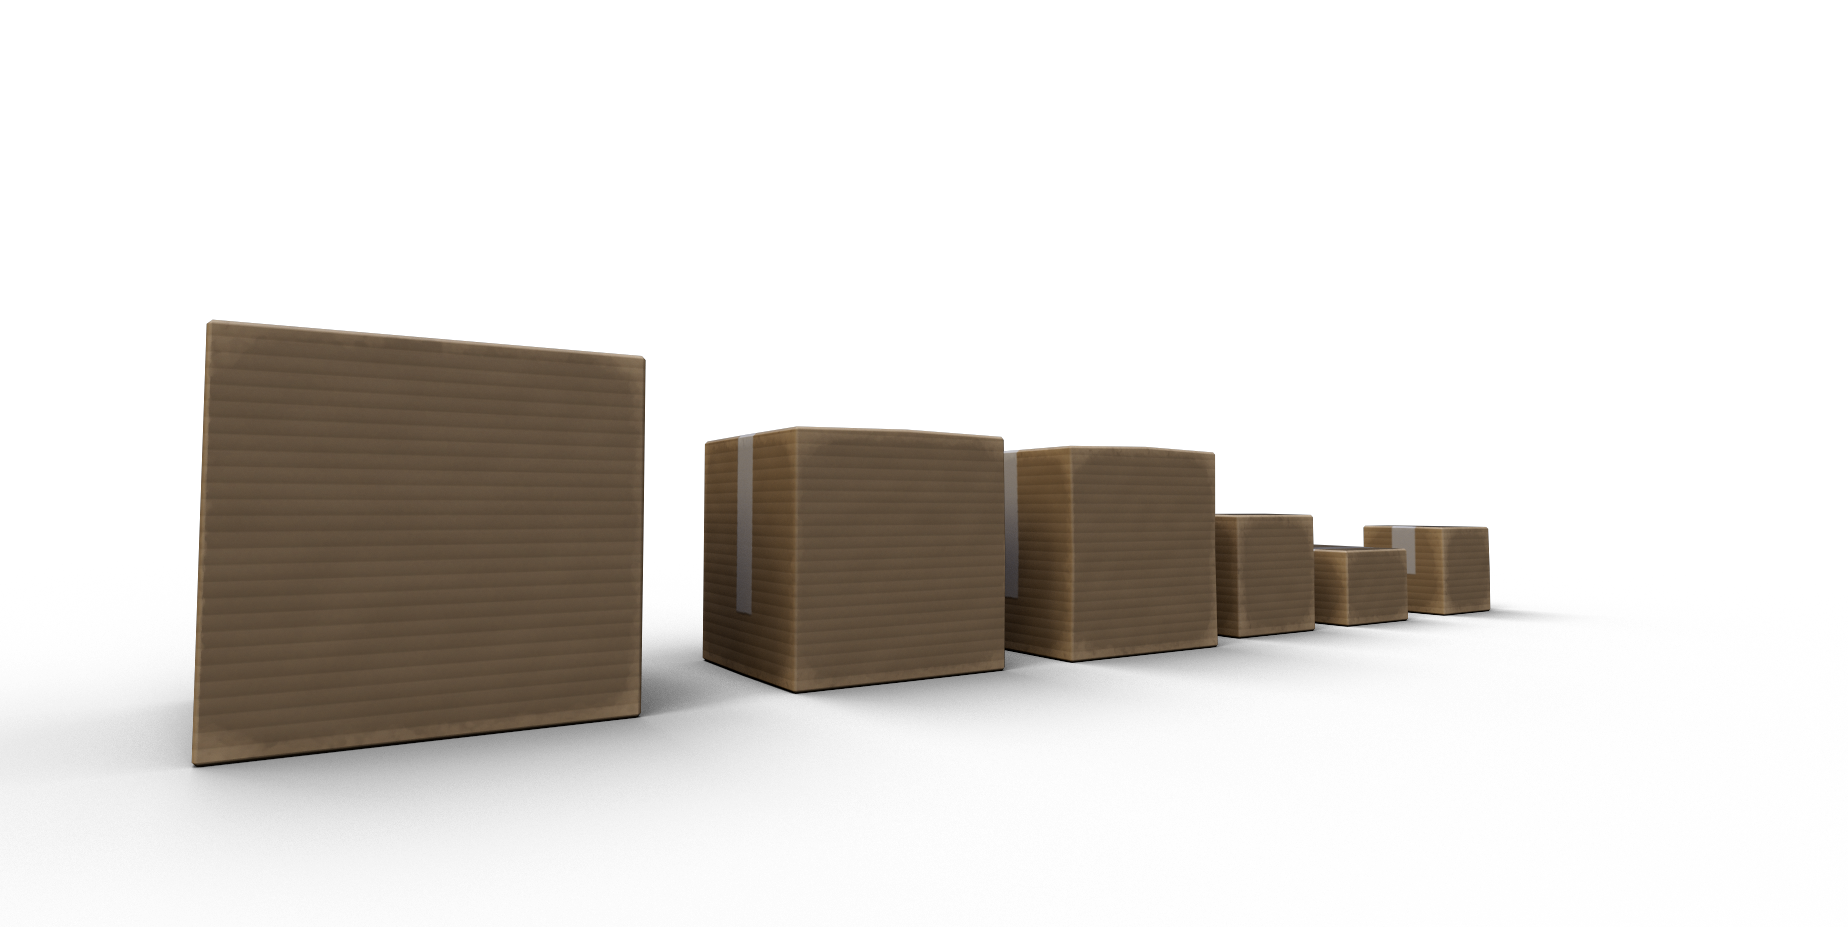
Last but not least - my greatest contribution to the game... the boxes! I love these guys. They're everywhere. You're going to see *so* many boxes.
Get Snapback
Snapback
Speed-Runner Puzzle Platformer
| Status | In development |
| Authors | Shadowlight Gaming, Cats With Knives, theDoorProblem, Daniel Page, Seventyfive2, TheBudSkywalker, Tom |
| Genre | Action, Platformer |
| Tags | Dystopian, First-Person, Puzzle-Platformer, Robots, Singleplayer, Unity |
More posts
- Shaders Shaders EverywhereJul 24, 2023
- Game Balance is HardJul 18, 2023
- Snapback: Speed is the puzzle.Jul 10, 2023
- Saving Player DataJul 04, 2023
- The Art of CodingJun 26, 2023
- UIJun 20, 2023
- RotationsJun 13, 2023
- The Level Design of SnapbackJun 12, 2023
- Snapback Mechanic DesignJun 06, 2023
Leave a comment
Log in with itch.io to leave a comment.